Next level ergonomics for remote work developers
Sat Jun 13, 2020 · 7 min read
Sat Jun 13, 2020 · 7 min read
I’ve previously raved about the Roost stand and how it’s saved my neck and posture over many years of traveling while working as a freelance software developer. Along with my favorite external travel keyboard, I’ve been careful to prevent issues like repetitive stress injury and weak upper back muscles that contribute to the telltale “computer hunchback.”
As I’ve come to discover, having your screen at the right height is really only part of the puzzle. If you find yourself tiring of working on the computer sooner than you’d prefer, here are some ways you can extend your working comfort and prevent injuries caused by poor developer ergonomics.
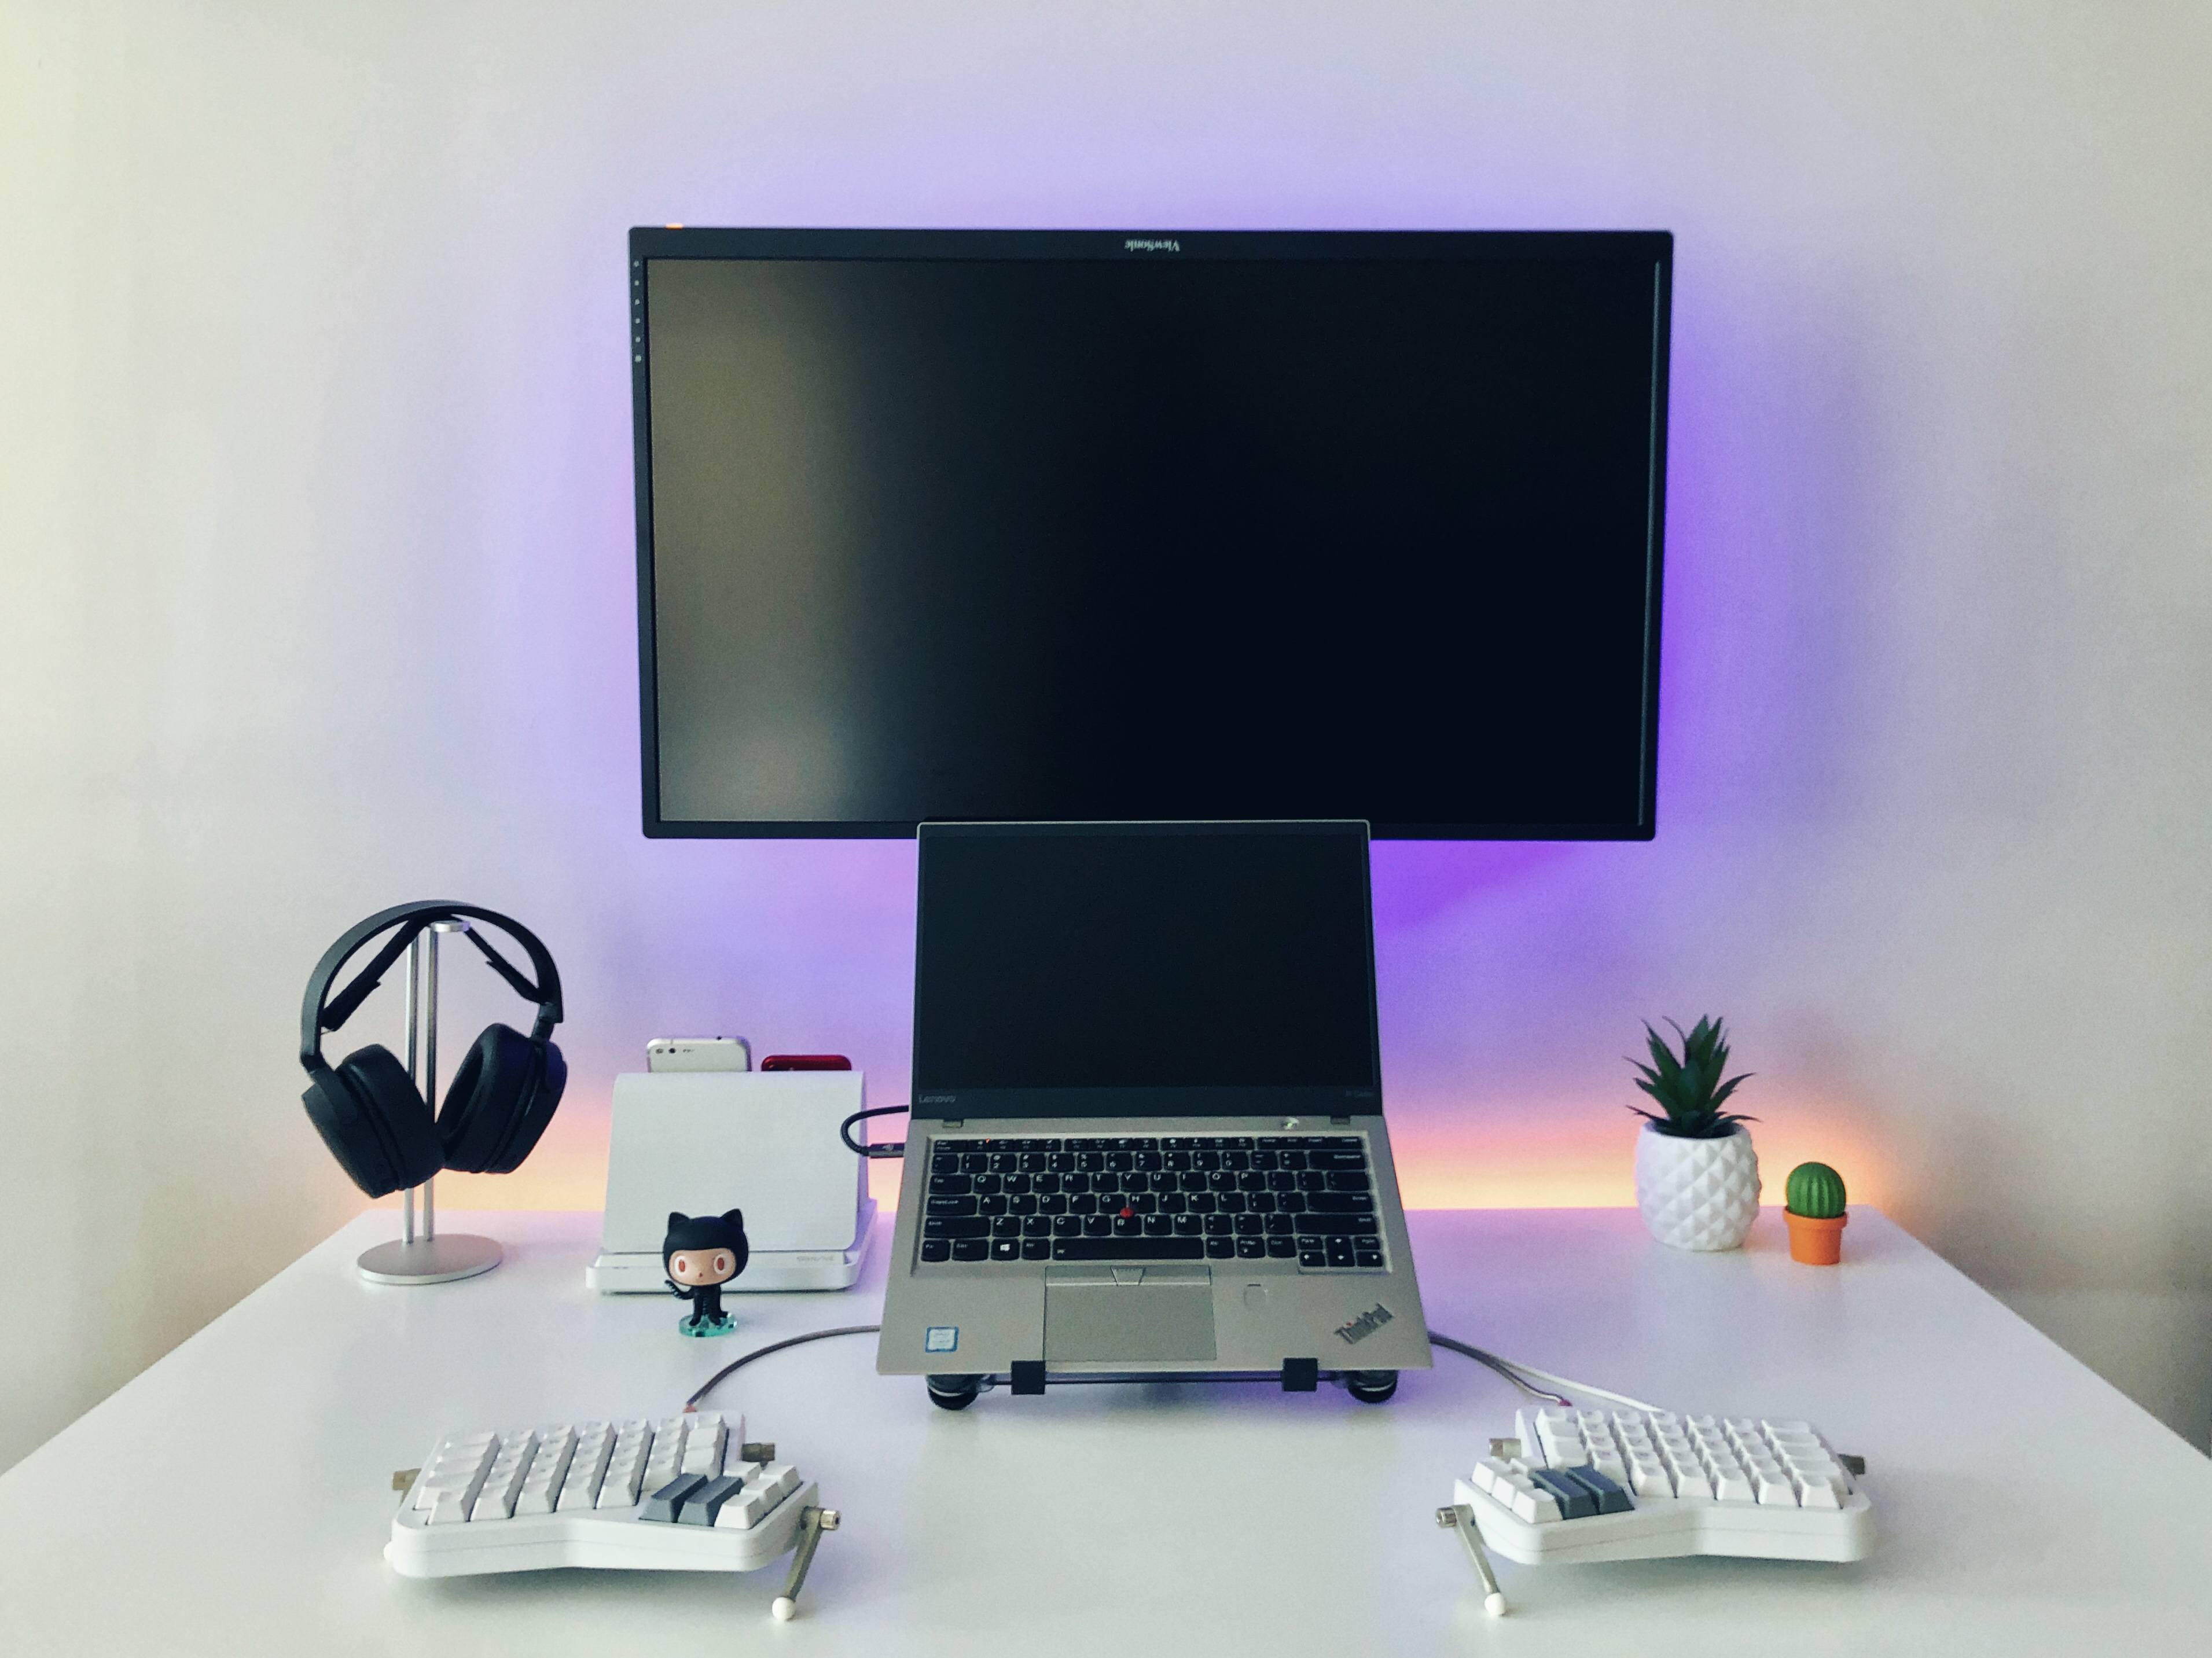
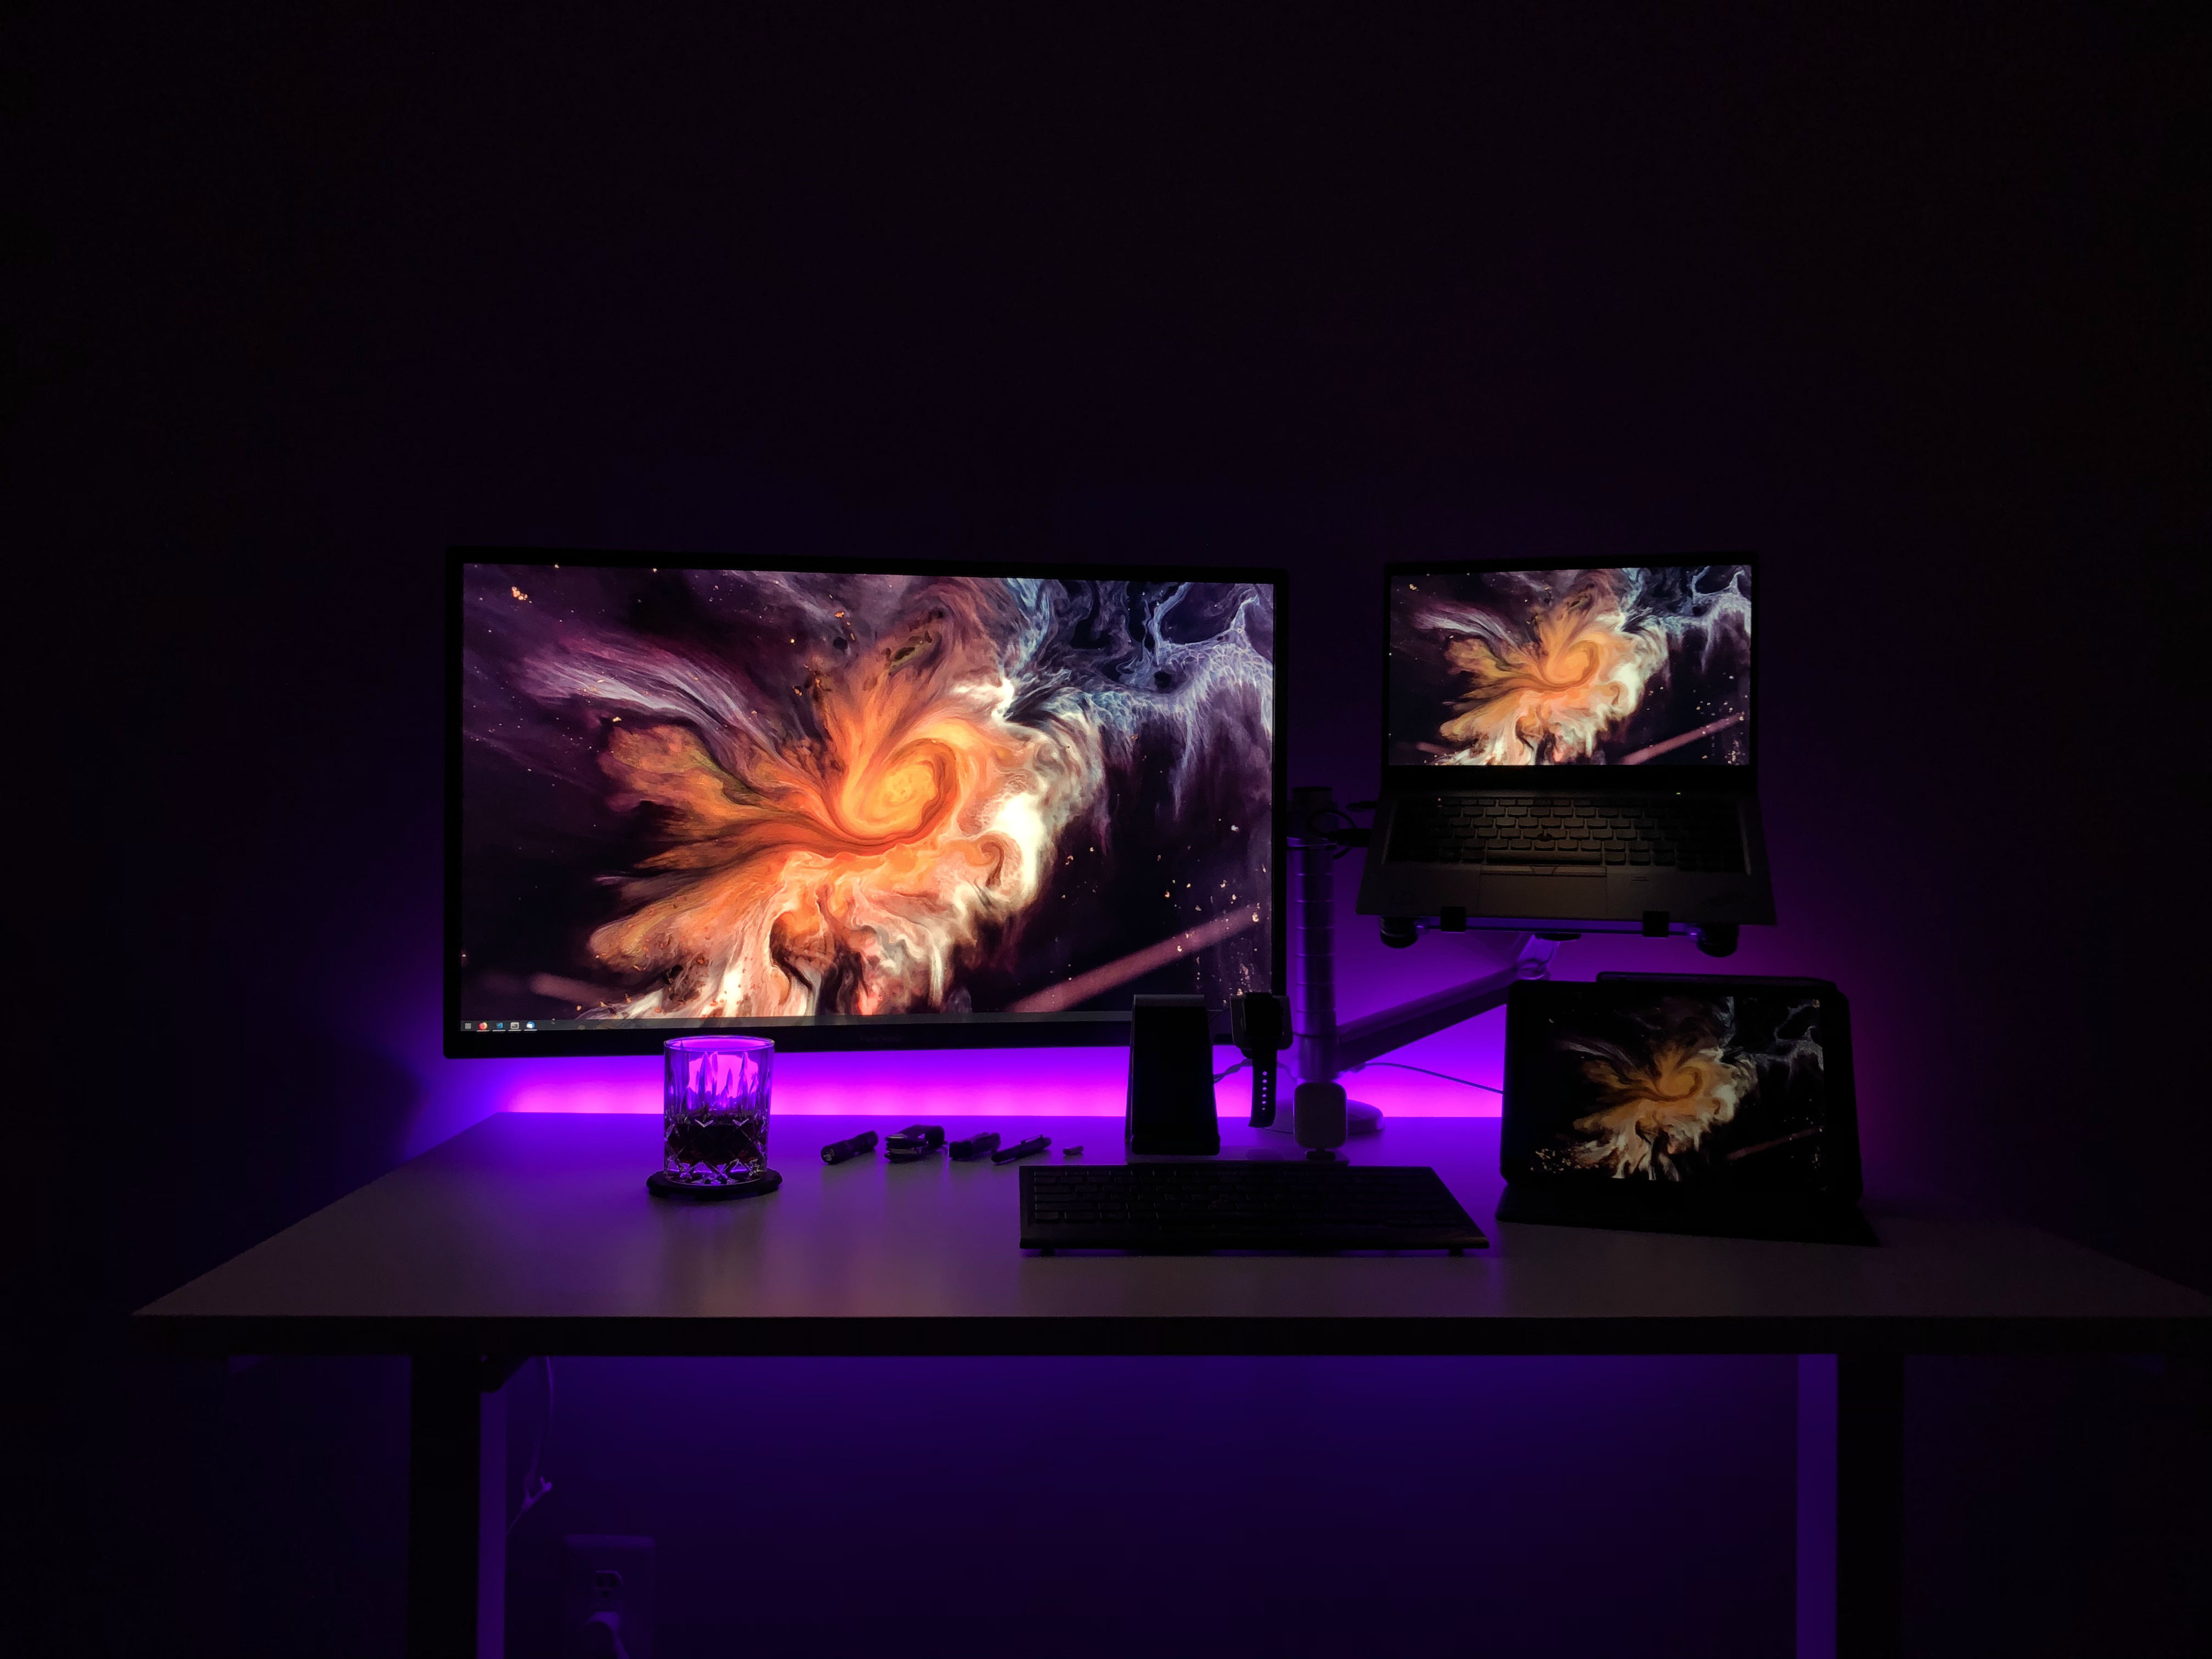
I rarely hear about folks considering their eyes when discussing ergonomics. Eyes have muscles too, specifically, ciliary muscle. Staring at a bright screen against a dark background can quickly tire ciliary muscles, which can cause or exacerbate eye strain. Evening out your lighting with ambient light, a table lamp, or monitor back-lighting (bias lighting) can greatly reduce eye strain and help you keep working (or playing) longer.
Plus, bias lighting can look really cool:
You can care for your eyes with what’s on your screen as well. Choose a color scheme for your desktop environment or favorite IDE with sufficient contrast and soothing colors. If setting your own colors, using a contrast checker based on the Web Content Accessibility Guidelines (WCAG) can help you create themes with contrast appropriate for everyone. Use varied syntax highlighting colors to make it even easier to find what you’re looking for. Here are some Visual Studio Code extensions that go beyond your average syntax highlighting.
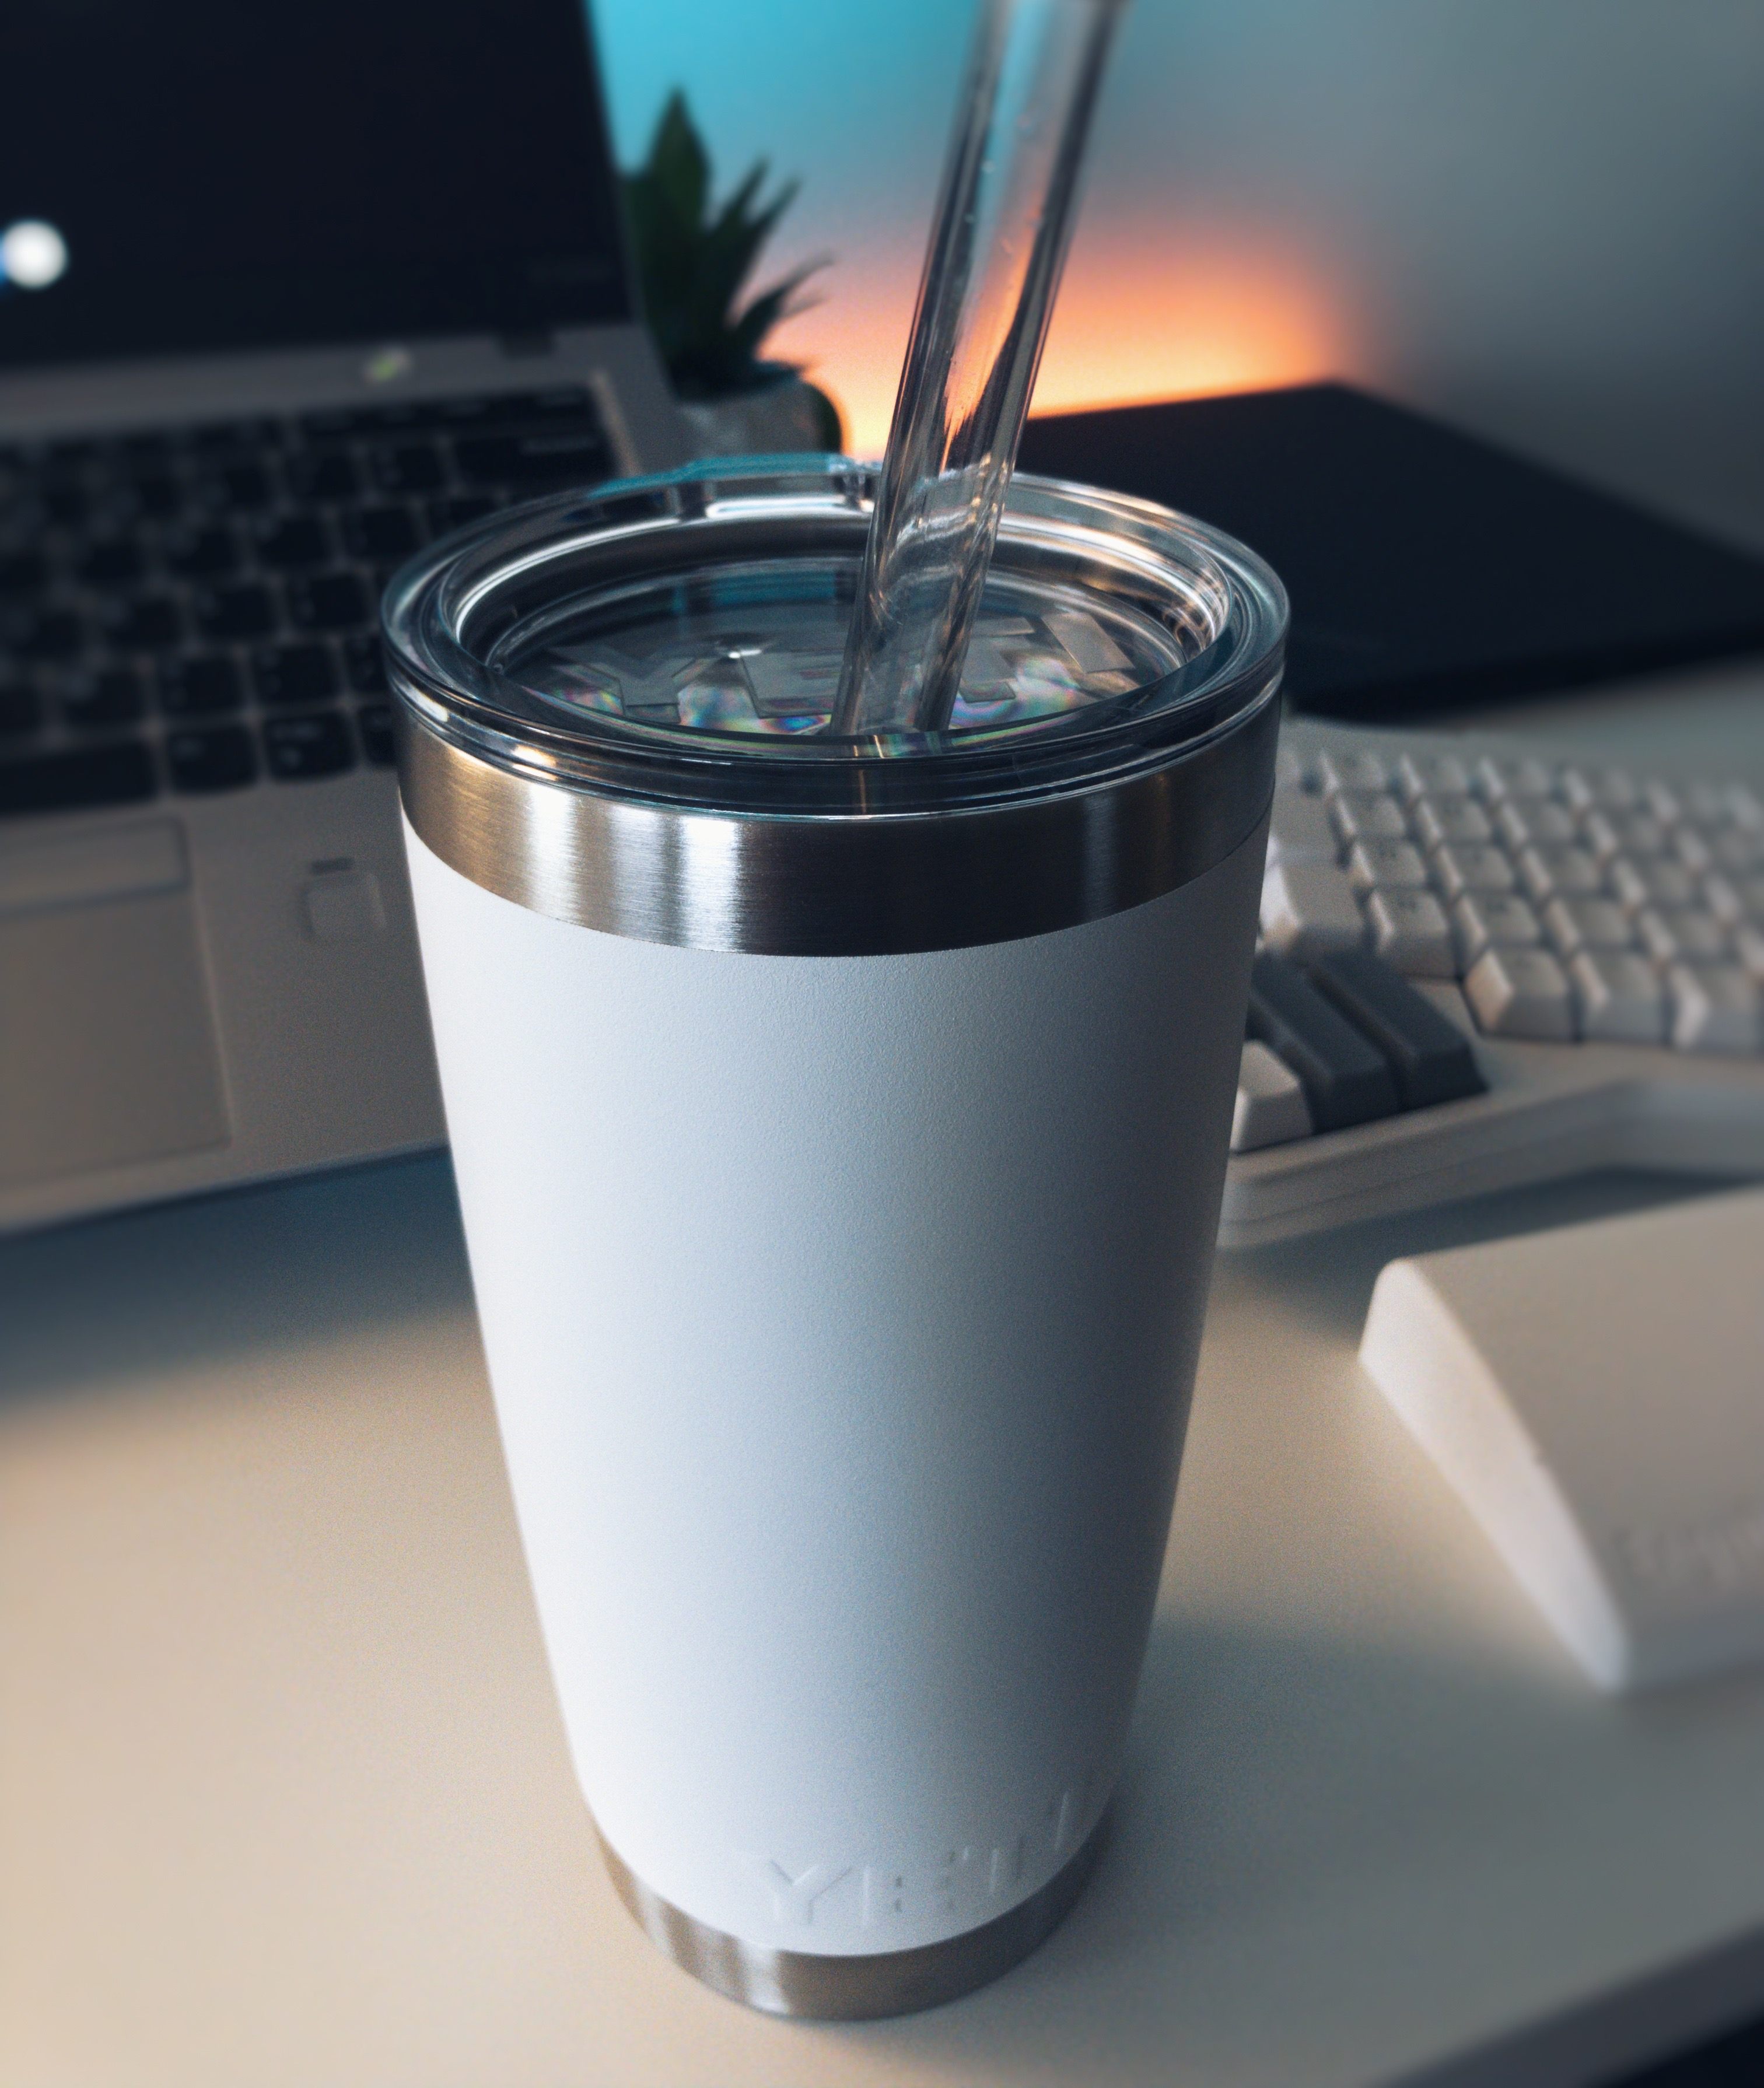
Drinking enough fluids to stay hydrated can also help prevent your eyes from drying out during a long debugging session. To encourage myself to stay hydrated, I bought a tumbler I really like and keep it on my desk, topped up with sparkling water.
My life changed the day I got my ErgodoxEZ, and not because I was out nearly $400 for a keyboard. I can honestly say this is one of the least expensive long-term investments I could have made for myself as a full-time developer, especially given that I have a considerable chance of developing Repetitive Strain Injury (RSI) in my wrists, which can necessitate surgery to attempt to correct. Repeated motion combined with prolonged, unergonomic postures are typical in this industry.
Traditional keyboards encourage prolonged non-neutral hand and wrist postures, such as those illustrated in this CDC publication. Non-neutral postures include bending your wrist to move your hand horizontally outward from your body, then upward to reach the top row. This awkward position strains your wrists and can increase the possibility of developing RSI. Additionally, the repetitive motion of transferring your dominant hand between keyboard and mouse can also increase RSI risk.
To reduce RSI risk, strive for a more neutral hand and wrist posture. This includes a keyboard set up that keeps your wrists straight, and your palms at level with your forearms, not tilted back. A tented posture can be even more beneficial, as it places your arms at an angle that encourages you to keep your shoulders back and chest up.
The least expensive investment you can make for yourself to reduce the risk of RSI is to use a wrist rest - here’s the one I use when travelling. These can help place your wrists and hands in a more neutral position when typing.
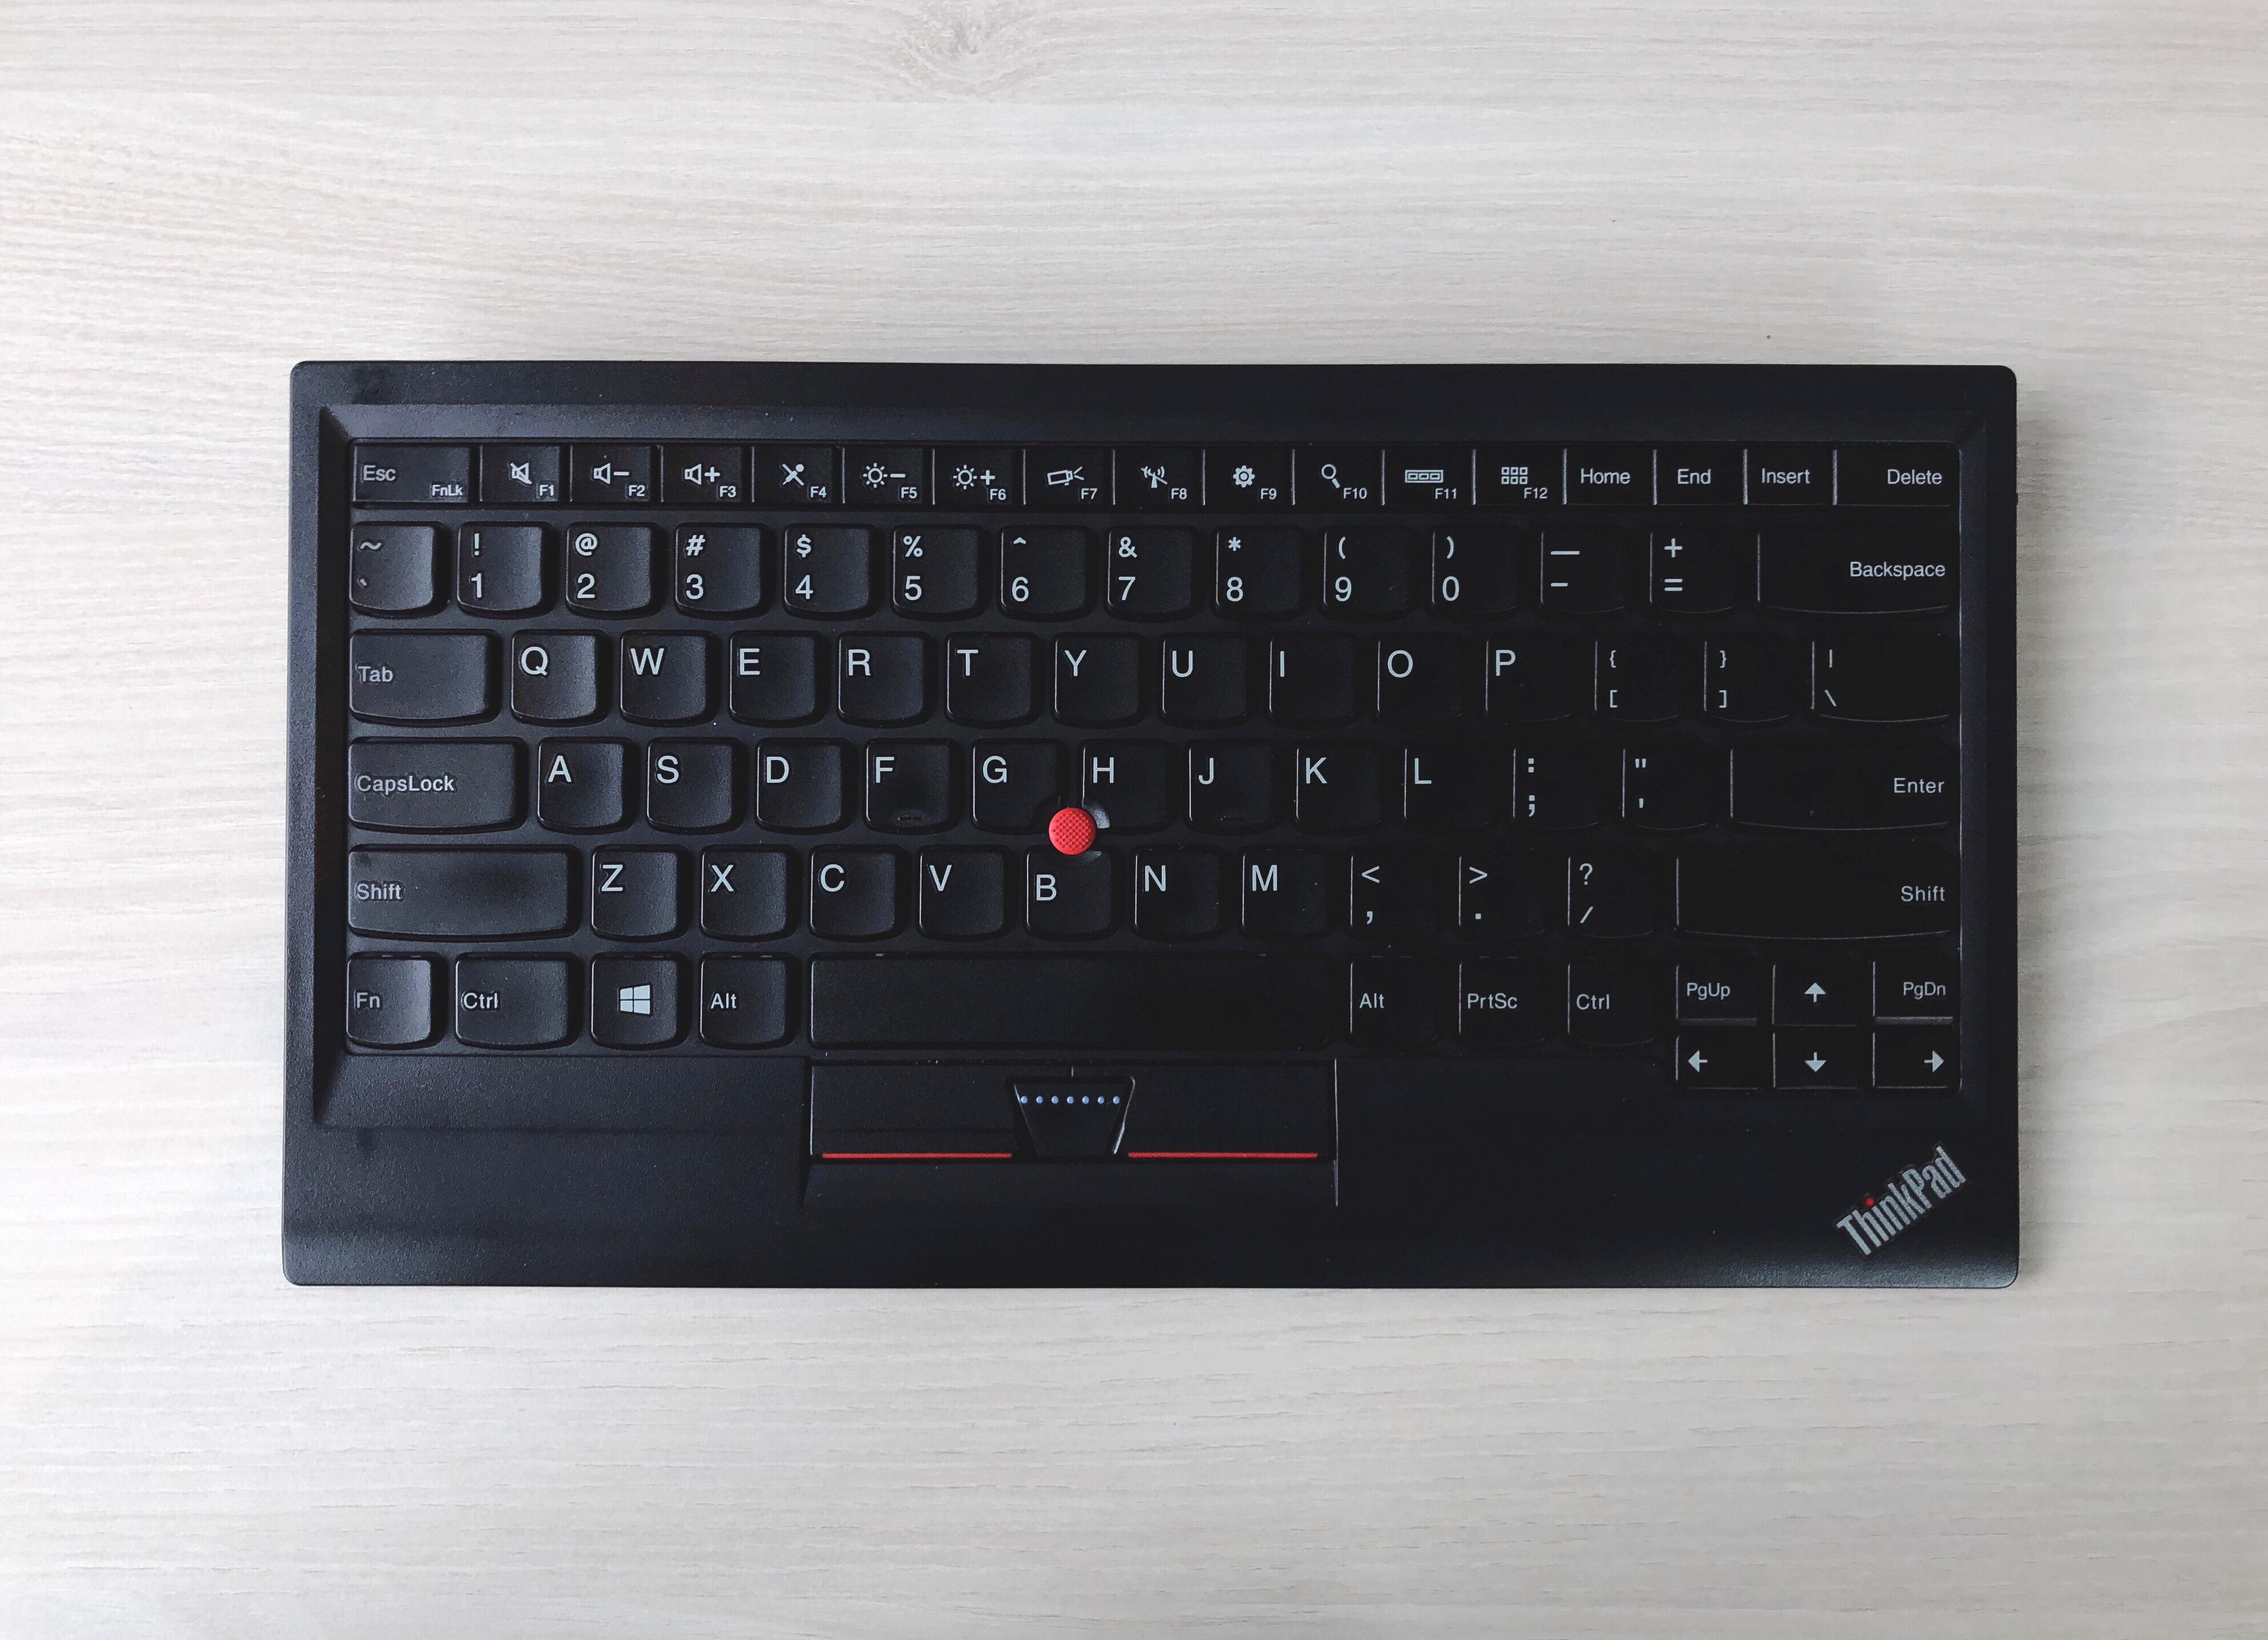
As a next step, reduce repetitive movement. My favorite external keyboard, the ThinkPad Bluetooth Keyboard with TrackPoint, is my favorite for a few reasons. The most significant reason by far is the TrackPoint. Using the mouse without needing to change the position of my dominant hand is significantly less taxing than using an external mouse. The keyboard also has flip-out feet underneath that help to place the top row at an easier-to-reach, more ergonomic angle.
If your livelihood requires typing all day, I highly recommend going all-in on a split keyboard. Choose one with two detachable halves so you can experiment with various separation distances and angles to find the posture most comfortable for you. (I’m 5'2" and my keyboard halves nearly span my desk at 22" separation, while my 6ft husband places his a mere 13" apart - preferences vary!) There are a few options I can recommend to suit varying budgets, from the Kinesis Freestyle2 with VIP3 lifters for tenting for about $140, to Koolertron’s programmable split mechanical keyboard for about $170, to the $350-400 (depending on options) split mechanical ErgodoxEZ.
After deliberation, I chose the ErgodoxEZ when I concluded that its features were totally keyed-in (🥁) to what I needed as a full-time developer. I realize the price tag isn’t amendable to all - if you’re feeling adventurous, you can also build your own Ergodox for a little less.
Some keyboards like the ErgodoxEZ feature the ability to control your mouse using keys, which has the benefit of eliminating the need for an external mouse. With others, some folks like to place a trackball mouse like the Kensington Orbit between keyboard halves.
Keyboards like the Koolertron and Kinesis Freestyle2 are essentially traditional keyboards, split in half - they have the flattest learning curve of all split keyboards, and take a relatively short time to adjust to. Keyboards with alternative ergonomic layouts, like the Ergodox’s staggered column layout, can take longer to re-learn to type on. Personally, I stuck it out through this learning curve and used my ErgodoxEZ exclusively for the few weeks it took me to adjust. If you frequently switch back to a regular key layout, it will likely take longer. At this point, after setting up and adjusting to my ErgodoxEZ, I actually find it harder to use my laptop’s built-in keyboard - but that’s a whole other post.

Plus, eating at my desk is way easier now.
Anecdotally, using my ErgodoxEZ has already paid off. A tenderness in the top of my right wrist - one possible indicator of RSI - had been steadily getting worse for months. After making the switch to my split keyboard, and despite the fact I now spend more time typing than ever before, the pain has vanished completely.
Though it may not be obvious, a supporting factor in the comfort of your eyes and wrists is the health of your upper back. Protraction of the shoulders, or hunching over, can worsen shortened and weakened chest muscles, which contributes not only to your posture and self-esteem, but can contribute to upper back pain. A hunched posture can also change the angle at which you look at your monitor and exacerbate eye strain.
One workspace change you can make to encourage better posture with retracted shoulders, commonly thought of as “shoulders back, chest out,” is to raise your monitor to the correct height. Place your screen so that your eyes look straight ahead with your head held high, at about arm’s length distance. Here are some more specific doctor’s orders.

Out of all of today’s tips, this one’s a no-brainer. A travel-ready stand like the Roost stand is indispensable here, but the same goal can instantly and easily be achieved by raising your monitor stand up with some books. Of course, if you want to get fancy, here are the monitor arms I use and can recommend.
Finally, make sure you break up the monotony of working once in a while! Variety is the spice of life, and good for your ergonomics too. Give your eyes a break by gazing off into the distance once in a while; release stress, both from your mind and muscles, with the occasional stretch.
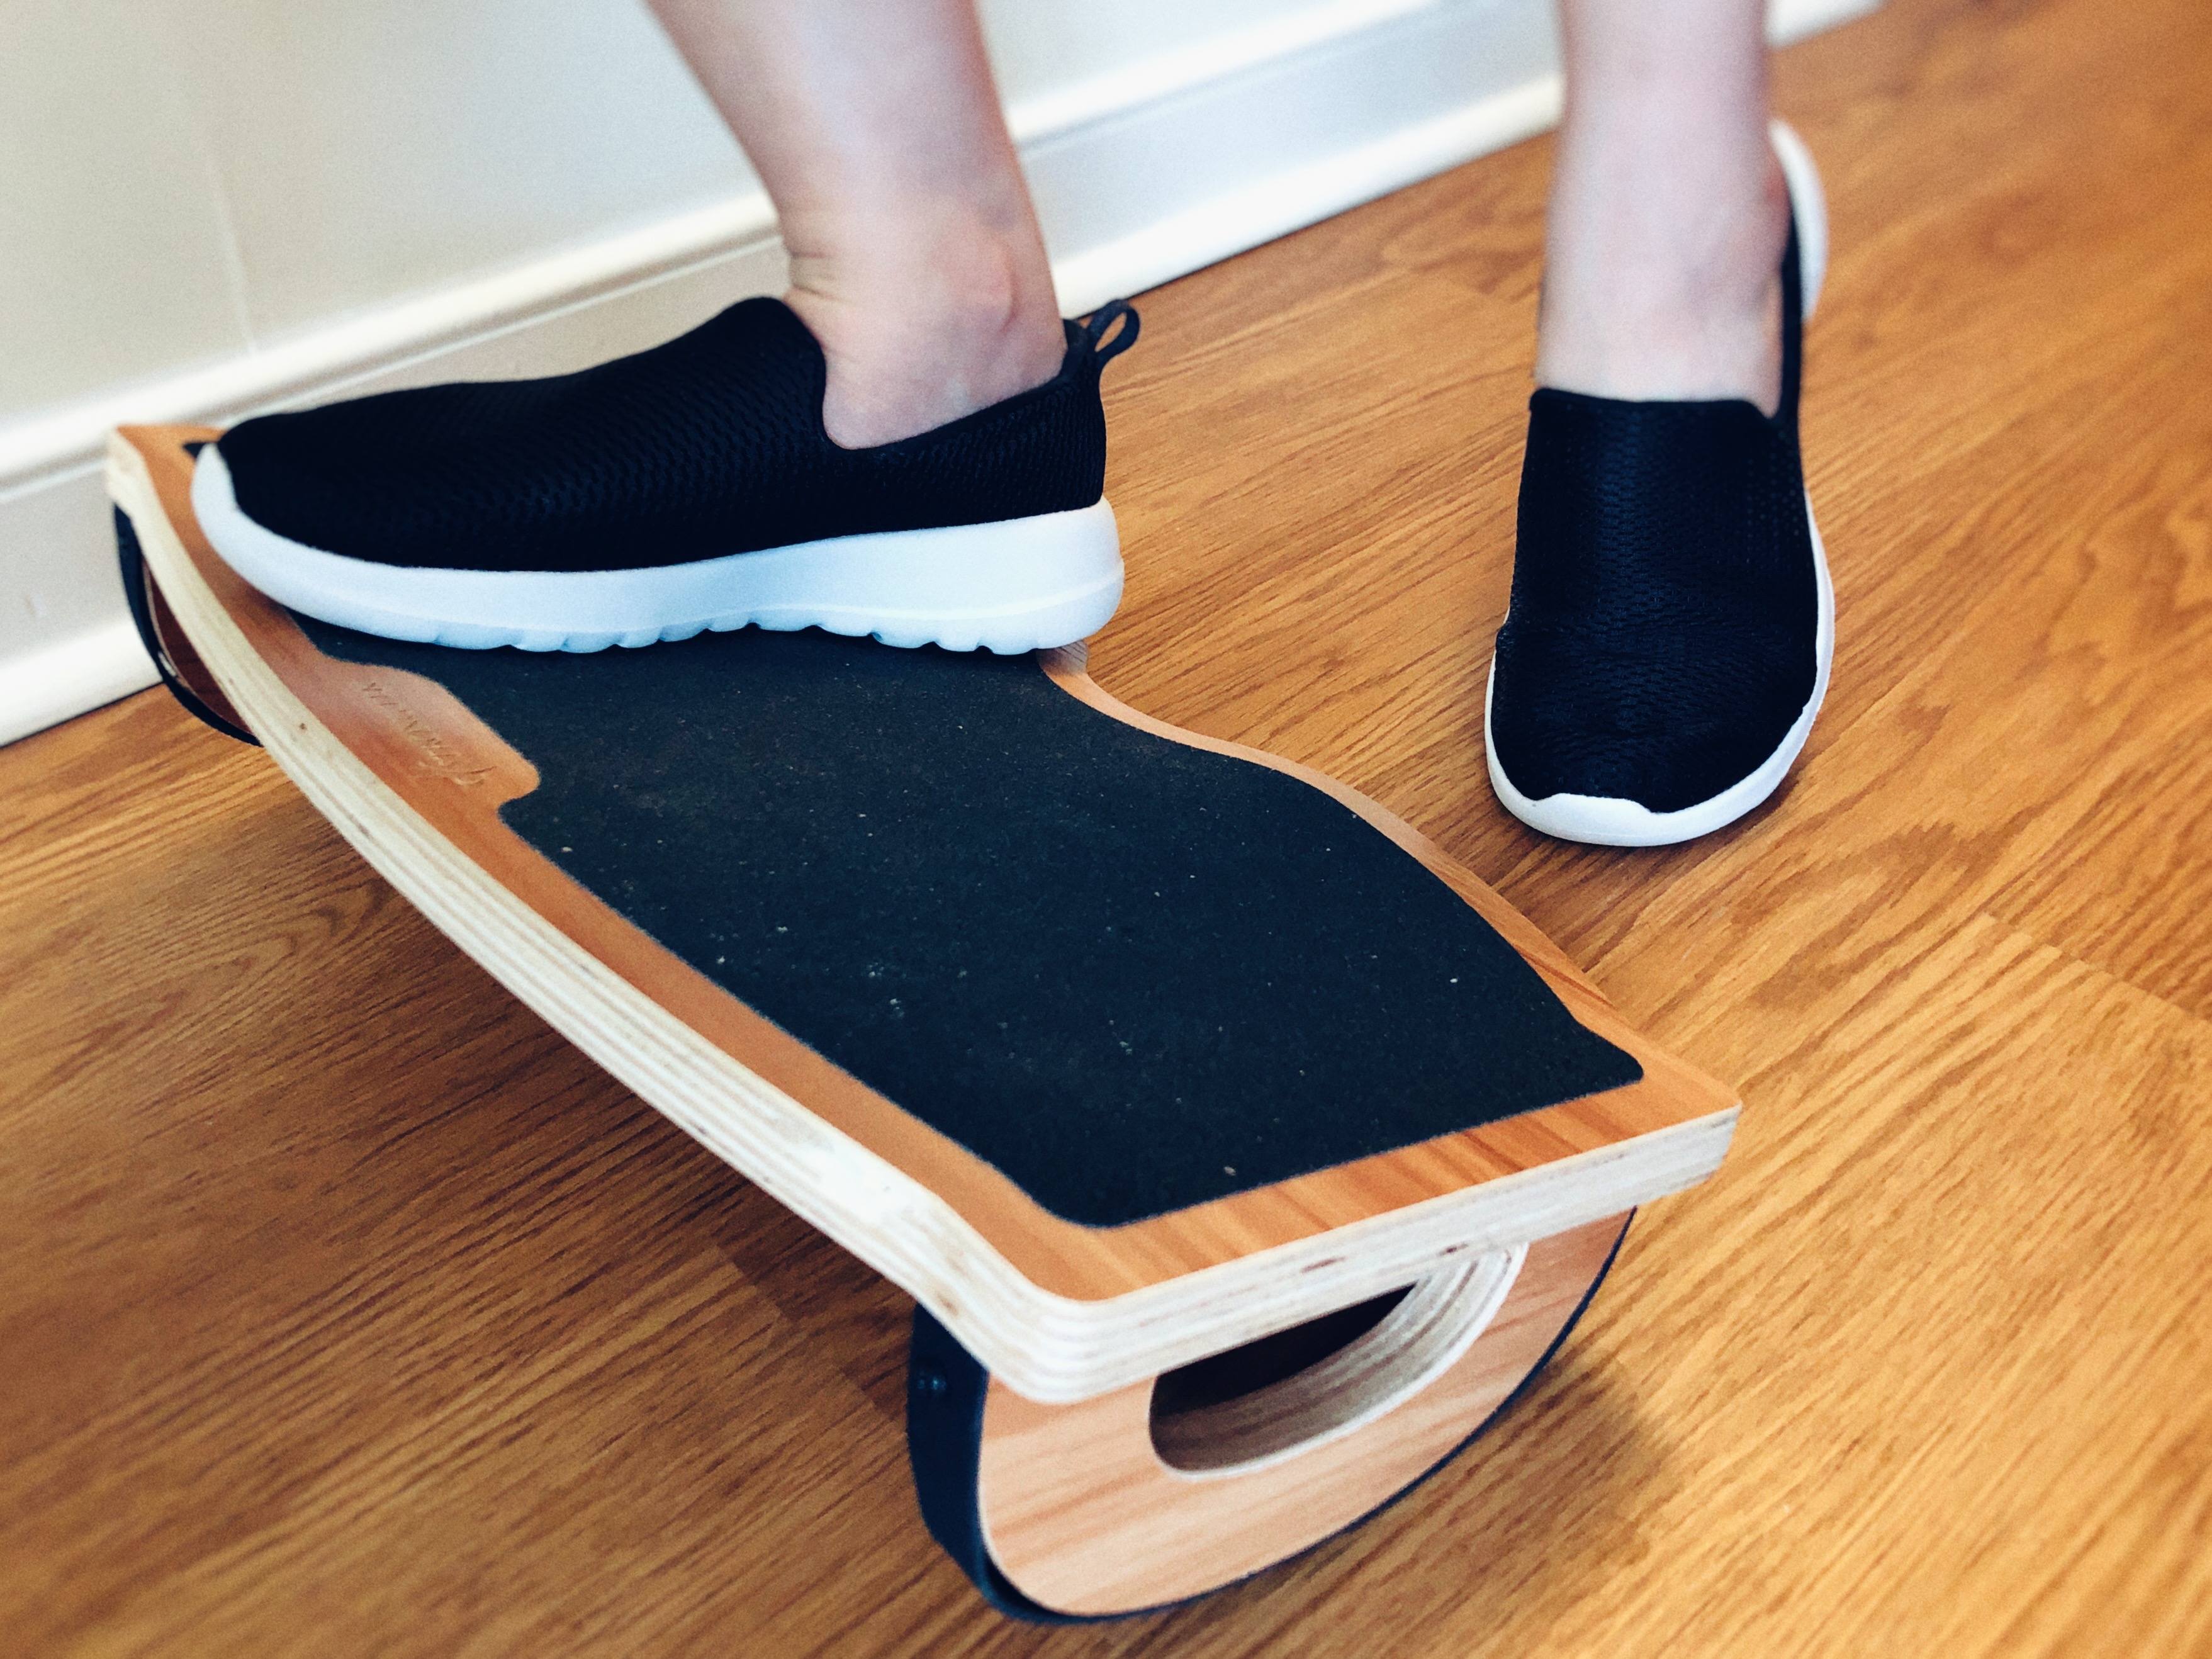
Kick it up a notch by using an app like Wakeout to remind you to move, or investing in a balance board for your standing desk - I use one that doubles as a foot rest for sitting. Inject a bit of fun into your day, and improve your health while you do. You’ll thank yourself later.